Mar 25, 2021 By Team YoungWonks *
How can one use an ultrasonic sensor with the Raspberry Pi Pico? With the all new Raspberry Pi Pico available now, this can be a rather common query for makers.
An ultrasonic sensor is an electronic device that measures the distance of a target object by emitting ultrasonic sound waves, and converts the reflected sound into an electrical signal. Ultrasonic waves travel faster than the speed of audible sound (i.e. the sound humans can hear). In this blog, we shall take a look at writing a program to use an ultrasonic sensor with the Raspberry Pi Pico.
What is Raspberry Pi Pico?
Raspberry Pi refers to a series of small single-board computers developed in the United Kingdom by the Raspberry Pi Foundation in association with Broadcom. The boards have been made keeping in mind the promotion of teaching basic computer science to kids. The latest offering by Raspberry Pi is the Raspberry Pi Pico, a new flexible IoT board. Essentially, it is a microcontroller board built on silicon and designed at the Raspberry Pi Foundation.
Priced at merely $4, Raspberry Pi Pico is smaller than the average Pi and indicates how the foundation is now looking to branch out into microcontrollers and custom silicon.
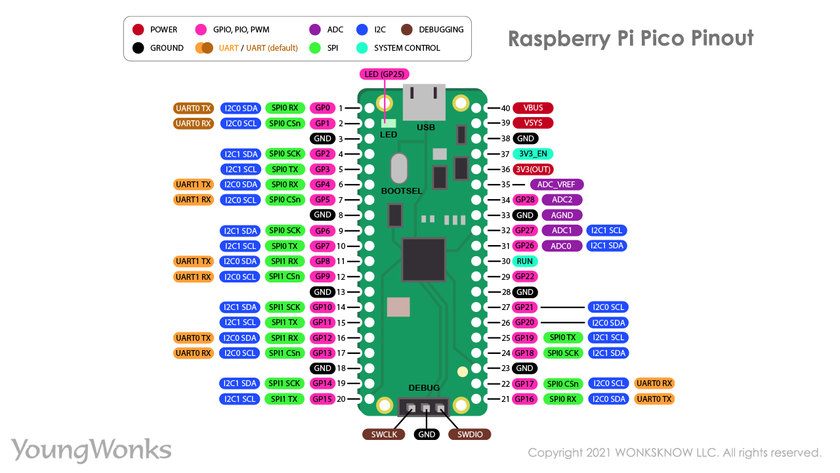
Raspberry Pi Pico pinout
In order to use it well, it is recommended to get well acquainted with the Raspberry Pi Pico pinout. The diagram below explains this.
Raspberry Pi Pico projects
As a microcontroller, the Raspberry Pi Pico can be used in many projects, be it Internet of Things (IoT), Adafruit Neopixel projects, data logging, small to medium scale robotics, projects needing interfacing with cameras, analog sensing (using environment sensors) and more.
Using an ultrasonic sensor with a Raspberry Pi Pico
Now we are going to learn how to use an ultrasonic sensor with a Raspberry Pi Pico.
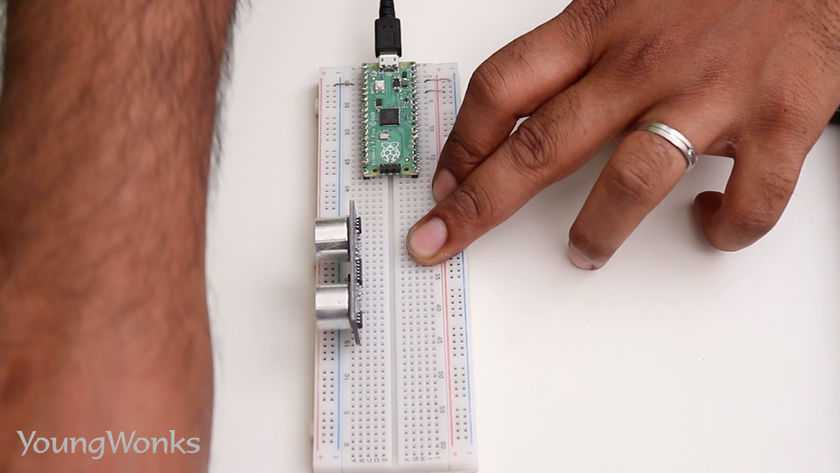
To do this, we need a Raspberry Pi Pico on a breadboard, an ultrasonic sensor, an LED, a resistor and five wires. 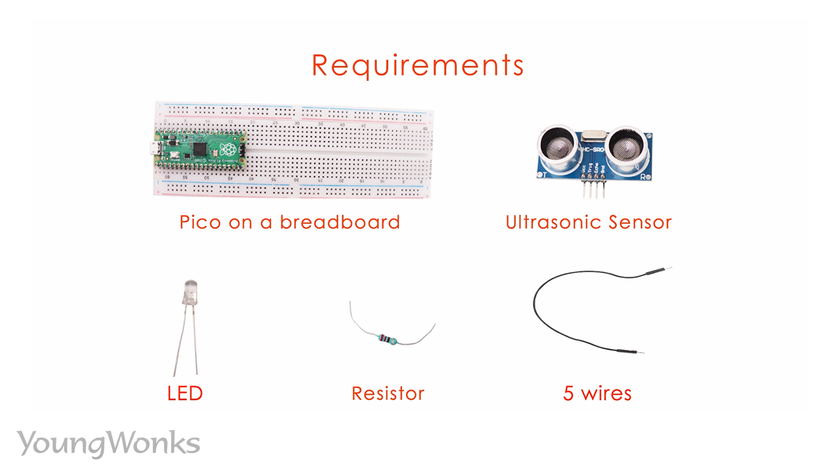
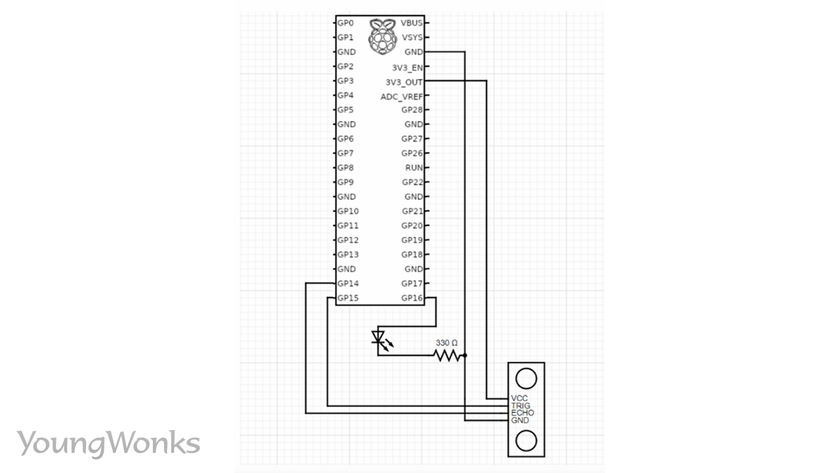
Take a look at this diagram to help you build a circuit. 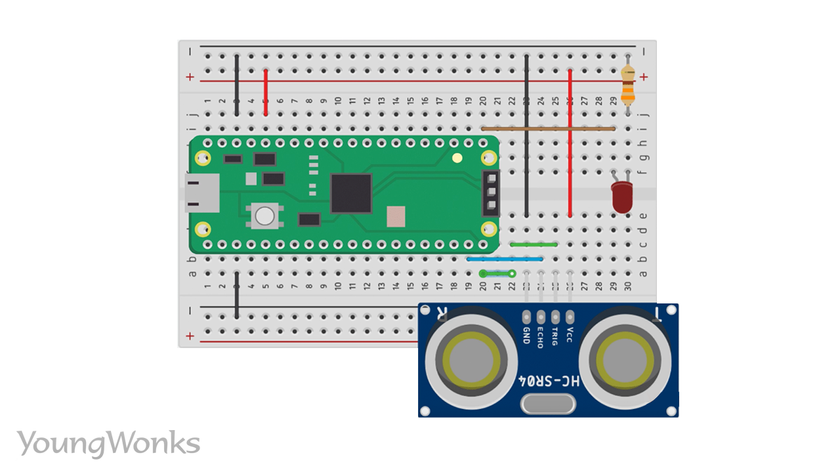
A wire circuit is also useful to build our circuit.
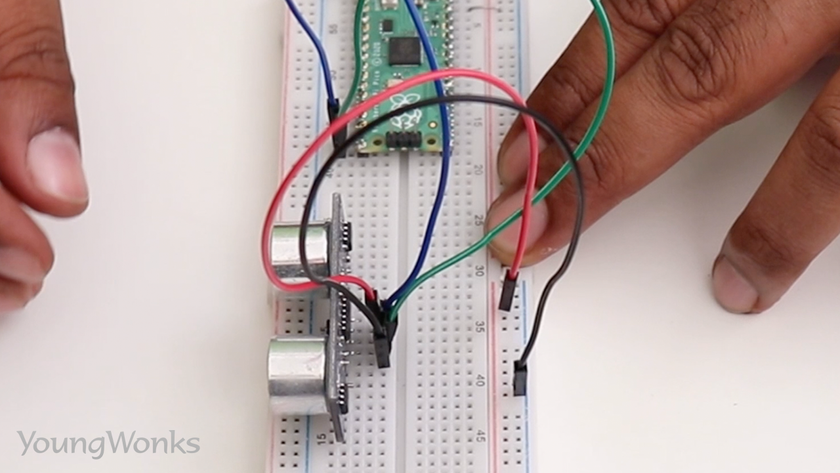
First place the ultrasonic sensor on the breadboard.
The ultrasonic sensor has four pins and we first connect the trigger to a GPIO configured as an output.
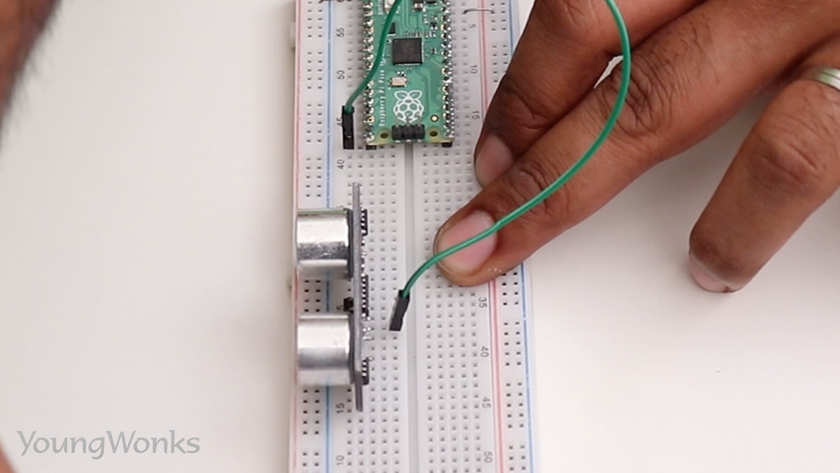
We then connect the echo to another GPIO configured as an input. 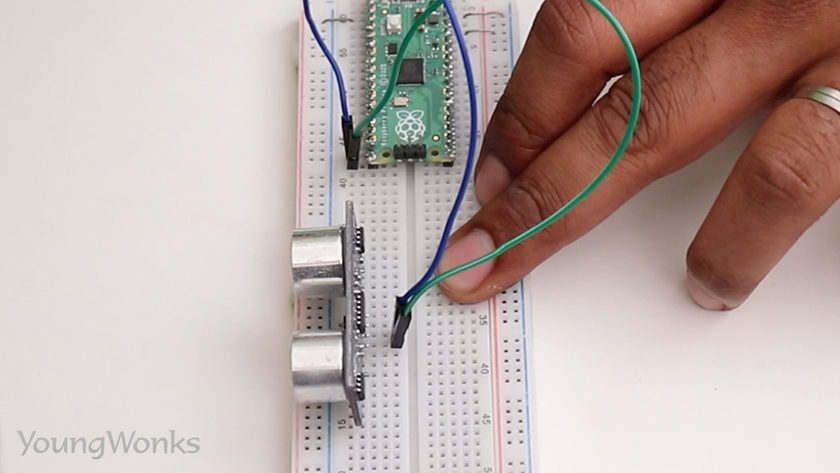
We then connect the ground pin to the side rail that is in turn connected to the Pico’s ground.
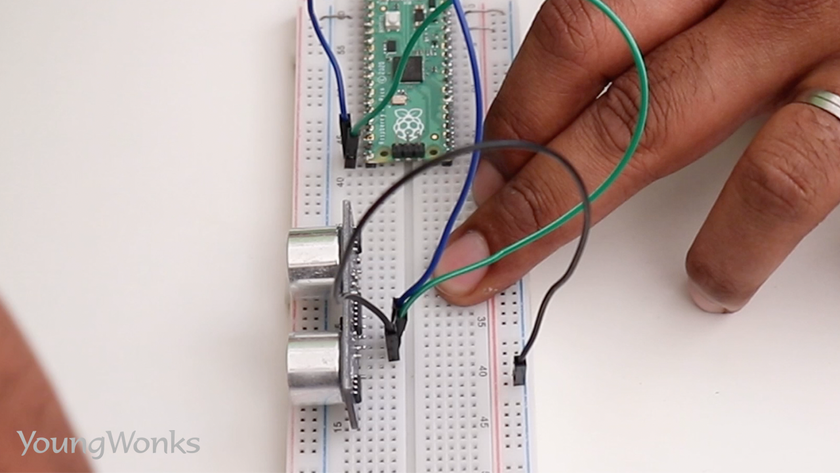
Next we connect the VCC (Voltage Common Collector) or power to the side rail connected to the Pico’s power output.
We then connect an LED with its negative terminal connected to ground through a resistor.
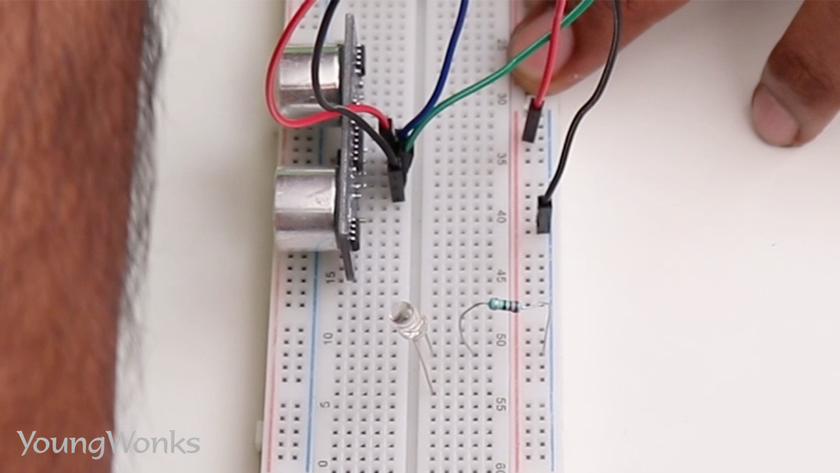
We then connect the positive terminal of the LED to a GPIO configured as an output. This allows us to see the LED blink when the object is detected. 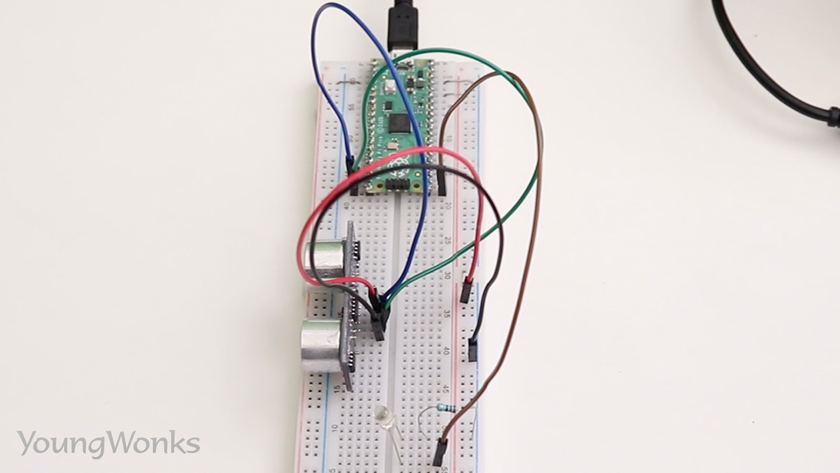
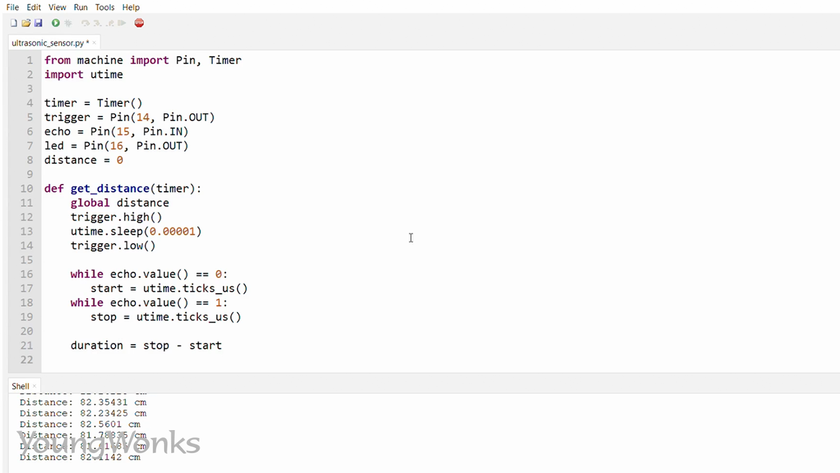
Getting down to the code, we import the pin and the timer module. 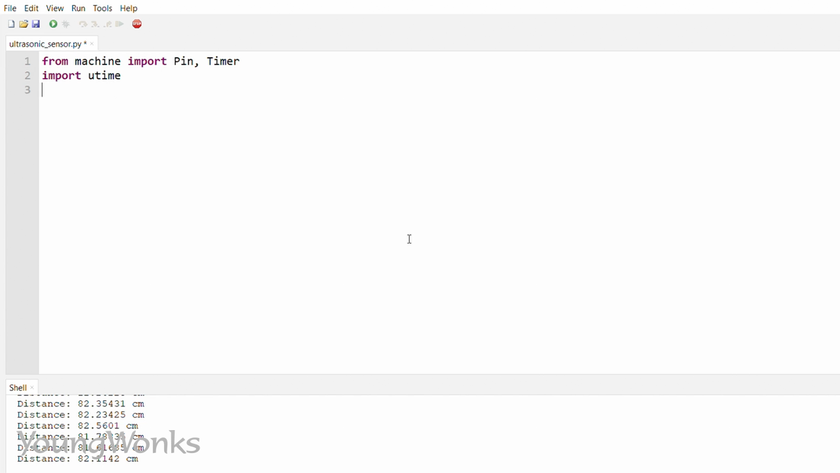
We then set a timer so that we can associate a function which is regularly called at an interval. 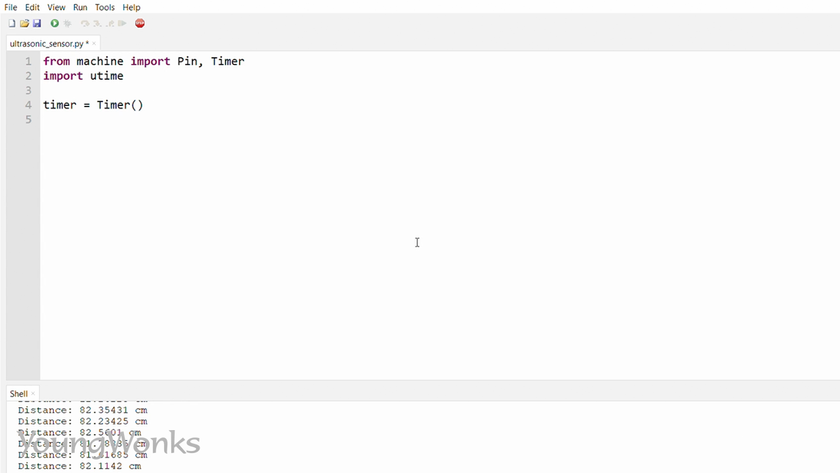
We set the trigger pin as an output. 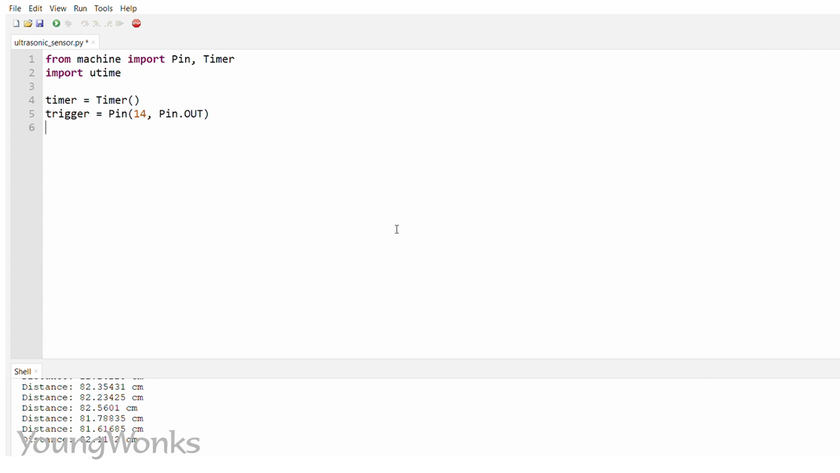
Next, set the echo pin as an input. 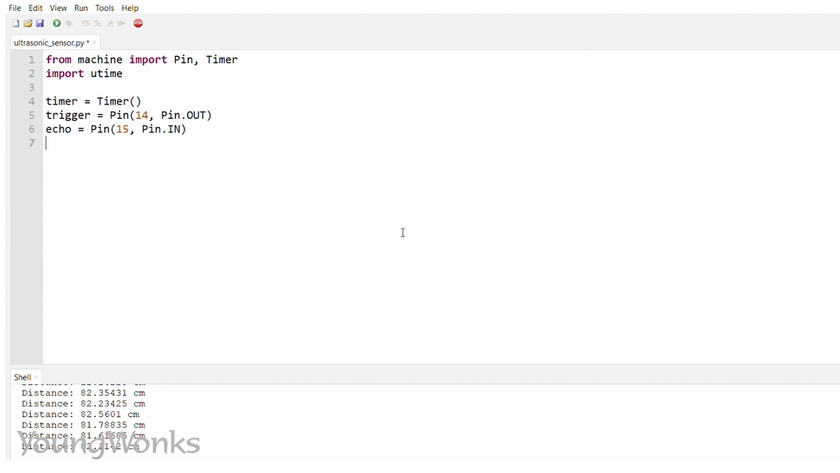
We also configure the LED to a GPIO which is an output. 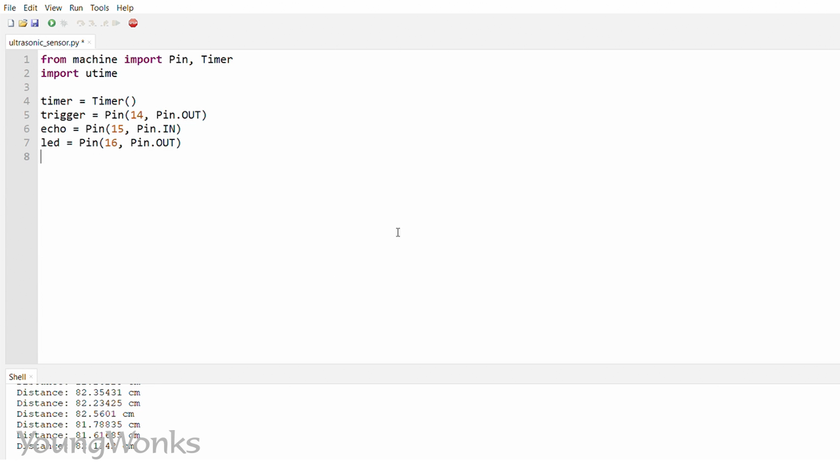
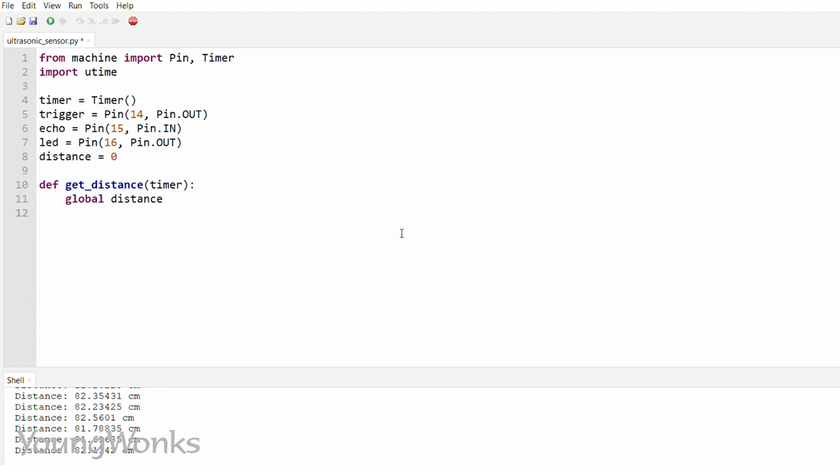
Now we create a function to get the distance from the ultrasonic sensor. This is associated with the timer so that it is constantly called.
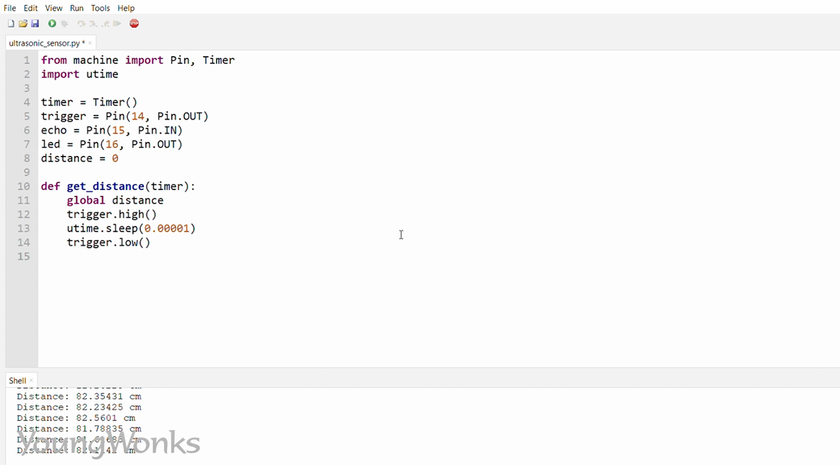
Next we pull the trigger high and wait for a microsecond. 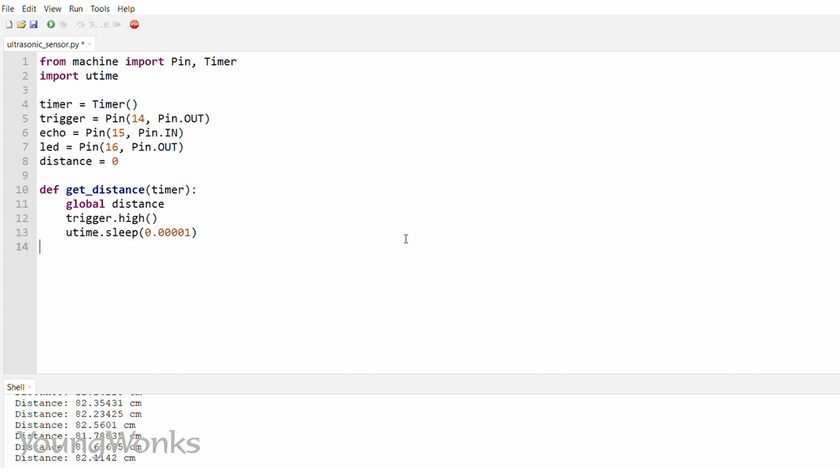
We then pull the trigger low and wait to detect the echo signal on the echo pin.
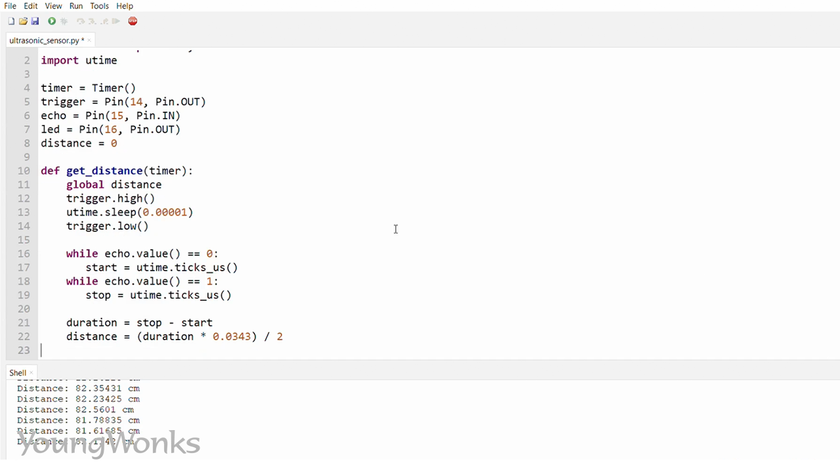
We use two while loops to measure the duration of the echo and we utilise the utime.ticks microsecond method to get an accurate measurement of the time that has elapsed.

The difference between the starting time of the echo and its ending time gives us the duration of the echo pulse. Since the ultrasonic sensor uses sound, we can now, with the knowledge of the speed of sound in air, calculate the distance between the obstacle and the sensor.
We divide this distance by two because the sound makes the journey to the obstacle and back while we are only looking for the distance from the obstacle.
Now we initialize the timer and we set it to run every one second. 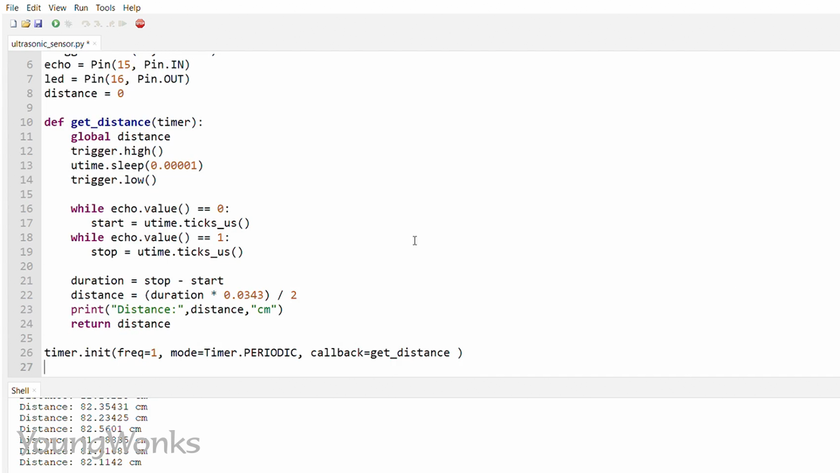
Now in a while loop, check the distance received from the sensor; if it is below 5 cms, we set the LED high and if it is otherwise, we set it to low. 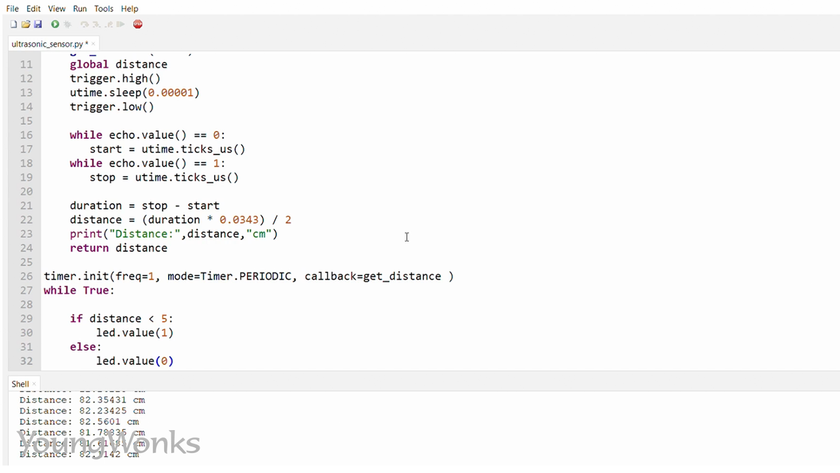
Now you will see that the LED doesn’t blink when the obstacle is more than 5 cms away.

But when the obstacle is under 5 cms away, the LED blinks. 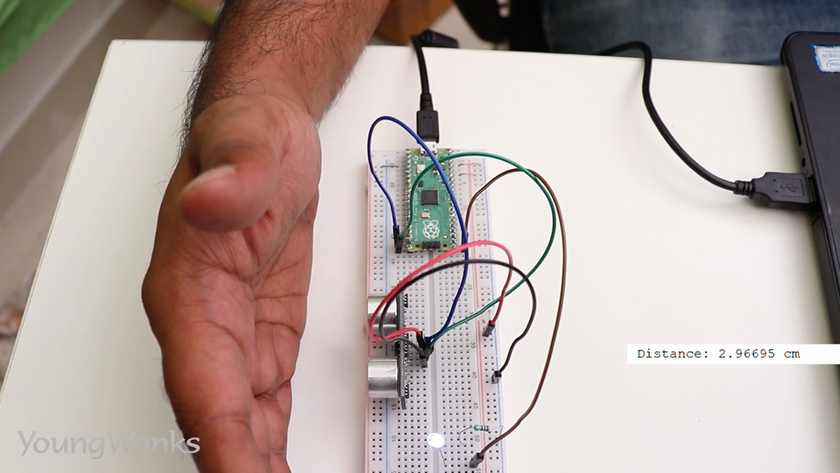
You can watch the video below to take a quick look at how one can use an ultrasonic sensor with a Raspberry Pi Pico:
Exploring Further Learning Opportunities
For those intrigued by the potential of combining ultrasonic sensors with the Raspberry Pi Pico, expanding your coding knowledge can significantly enhance your projects. At Coding Classes for Kids, young enthusiasts can deepen their understanding of programming fundamentals. Specifically, our Python Coding Classes for Kids are designed to equip learners with the skills necessary to tackle a variety of coding challenges, including those related to electronics projects. Additionally, our comprehensive Raspberry Pi, Arduino, and Game Development Coding Classes offer a rich learning environment where aspirants can further their expertise in creating sophisticated tech projects.
*Contributors: Written by Vidya Prabhu; Lead image by: Leonel Cruz