Apr 15, 2021 By Team YoungWonks *
How can one control a stepper motor with the Raspberry Pi Pico? In this blog, we shall look at this. But before we go into that, let’s look at what a stepper motor is.
What is a Stepper Motor?
DC motors that move in discrete steps are called stepper motors. They have several coils that are organized in groups called phases. As each phase gets energized in sequence, the motor rotates, one step at a time. In fact, using a computer controlled stepping, one can get very precise positioning. Available in various sizes, shapes and electromechanical specifications, these motors are known for their precise speed control and their repeatable positioning ability. This is why stepper motors are the preferred type of motor for several precision motion control applications such as 3D printers, camera platforms, X,Y plotters and precision gearmotors. Some other devices one can find stepper motors include clocks, robots and CNC (computer numerical control) machines. For more details, check out our blog on different types of motors used by hobbyists and makers today: https://www.youngwonks.com/blog/Different-types-of-motors-used-by-makers-and-hobbyists.
Next let’s take a quick look at the Raspberry Pi Pico.
What is Raspberry Pi Pico?
Raspberry Pi refers to a series of small single-board computers developed in the United Kingdom by the Raspberry Pi Foundation in association with Broadcom. The boards have been made keeping in mind the promotion of teaching basic computer science to kids. The latest offering by Raspberry Pi is the Raspberry Pi Pico, a new flexible IoT board. Essentially, it is a microcontroller board built on silicon and designed at the Raspberry Pi Foundation.
Priced at merely $4, Raspberry Pi Pico is smaller than the average Pi and indicates how the foundation is now looking to branch out into microcontrollers and custom silicon.
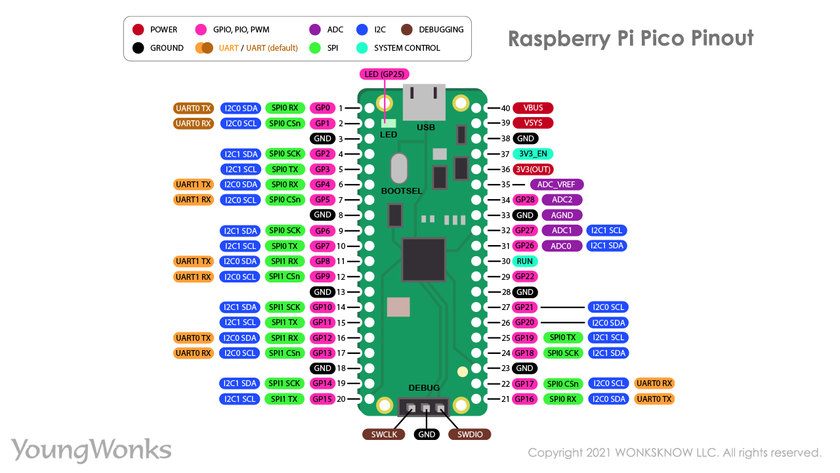
Raspberry Pi Pico pinout
In order to use it well, it is recommended to get well acquainted with the Raspberry Pi Pico pinout. The diagram below explains this.
Raspberry Pi Pico projects
As a microcontroller, the Raspberry Pi Pico can be used in many projects, be it Internet of Things (IoT), Adafruit Neopixel projects, data logging, small to medium scale robotics, projects needing interfacing with cameras, analog sensing (using environment sensors) and more.
Using a stepper motor with a Raspberry Pi Pico
Now we are going to see how to control a stepper motor with a Raspberry Pi Pico.
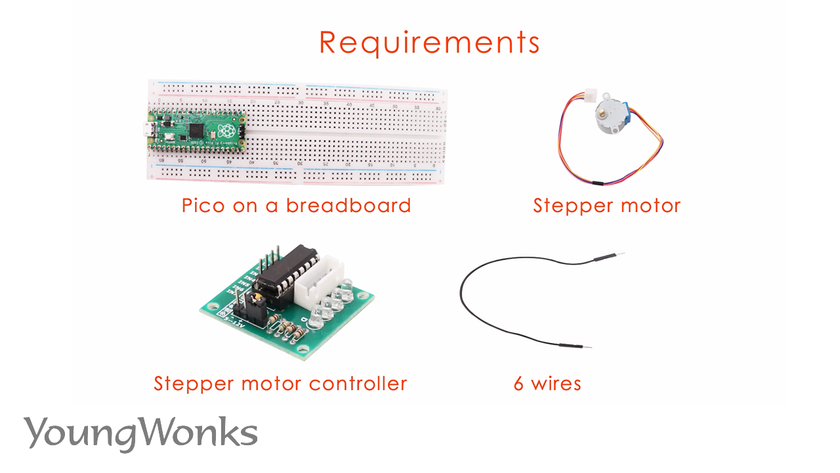
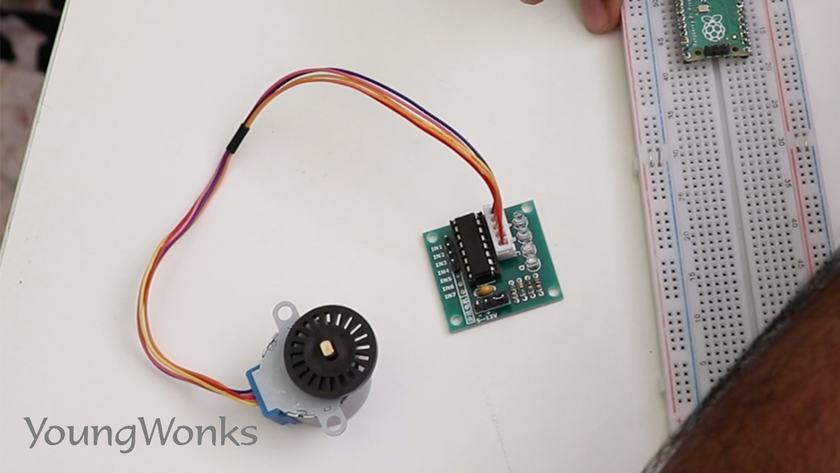
In order to do this, we need a Raspberry Pi Pico on a breadboard, a stepper motor, a stepper motor controller and six wires.
Take a look at this circuit diagram to help you build a circuit.
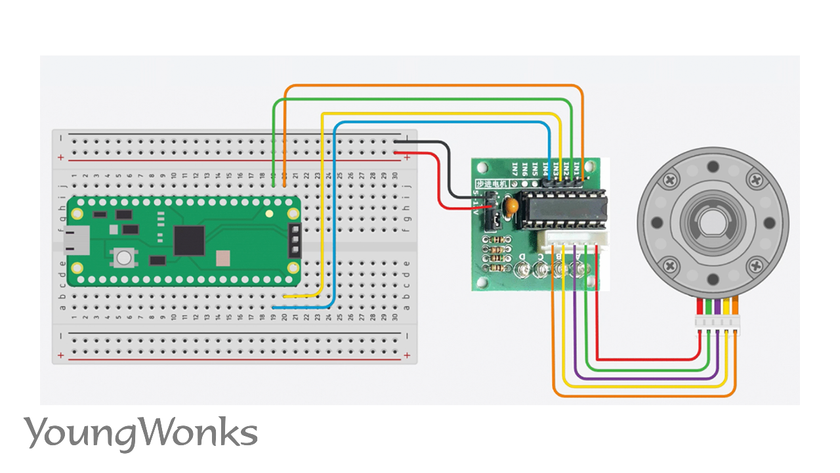
Take a look at the wiring circuit to help you verify the circuit.
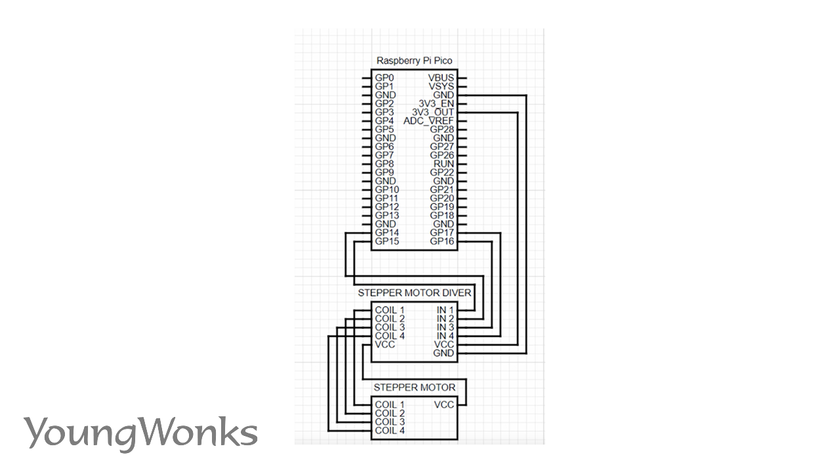
First we connect the stepper motor to the motor controller.
We then connect the various pins labelled IN1, IN2, IN3 and IN4 to four GPIOS configured as outputs.
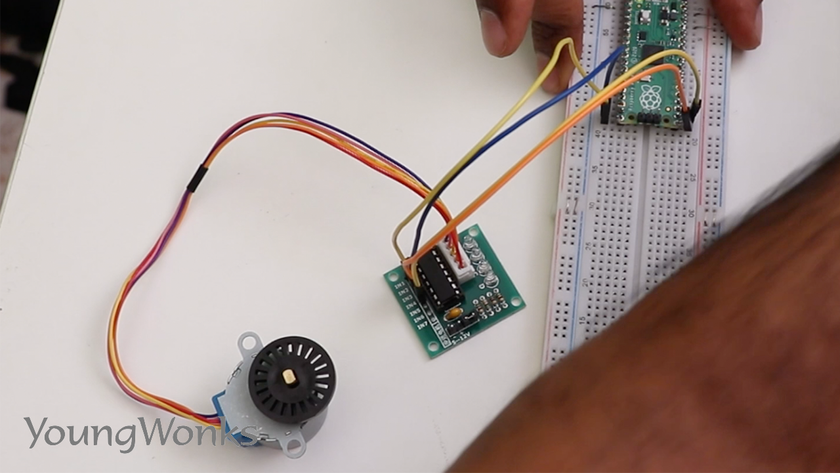
We then provide the power and the ground connections. 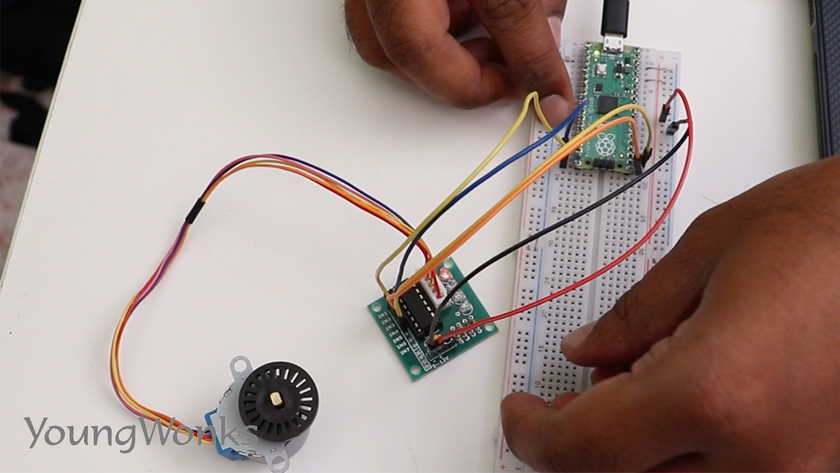
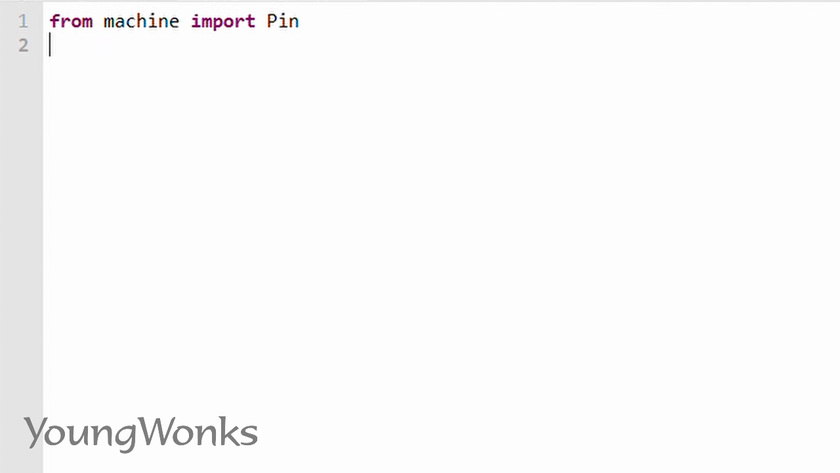
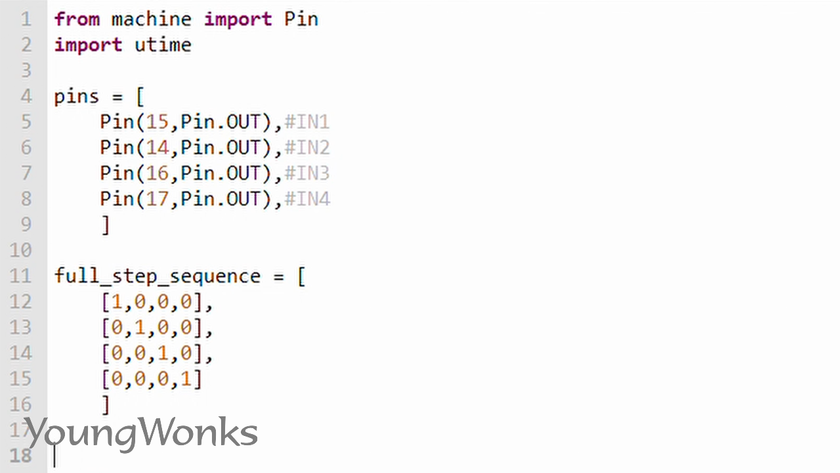
Now that we are ready with the connections, it is time to look at the code. Start by importing the pin module from the machine library.
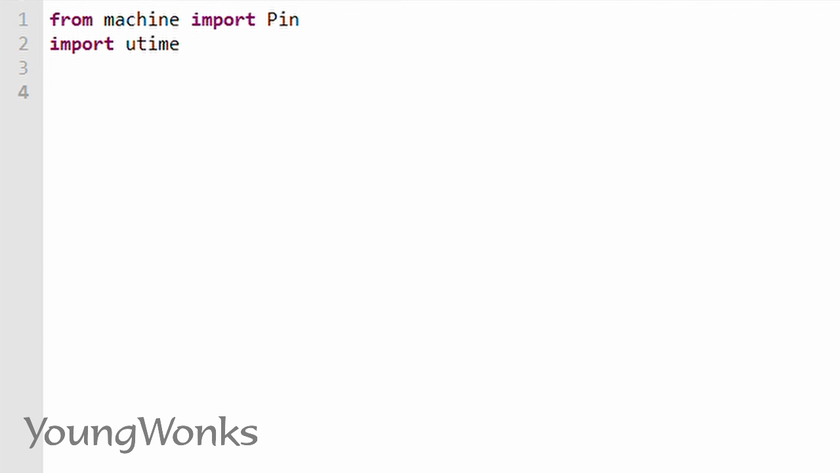
We also import utime to add some delays.
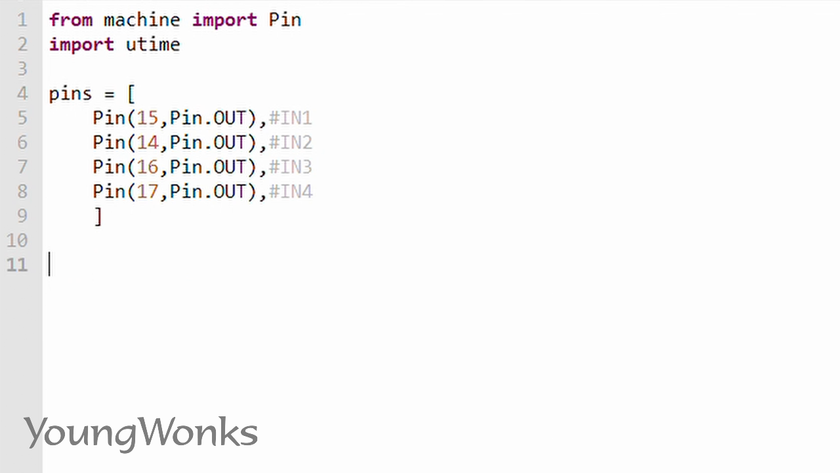
Next we create a list of pins configured as outputs. A stepper motor essentially works by providing a sequence of values to these four pins.
Then we create a list of sequences to be provided to the stepper motor. As you can see, we create sequences where the 1 value shifts through the different positions in the list.
Now in a forever loop, we step through the sequence and apply each value of the sequence to each one of the pins. We also add a little bit of delay so we can notice the turn.
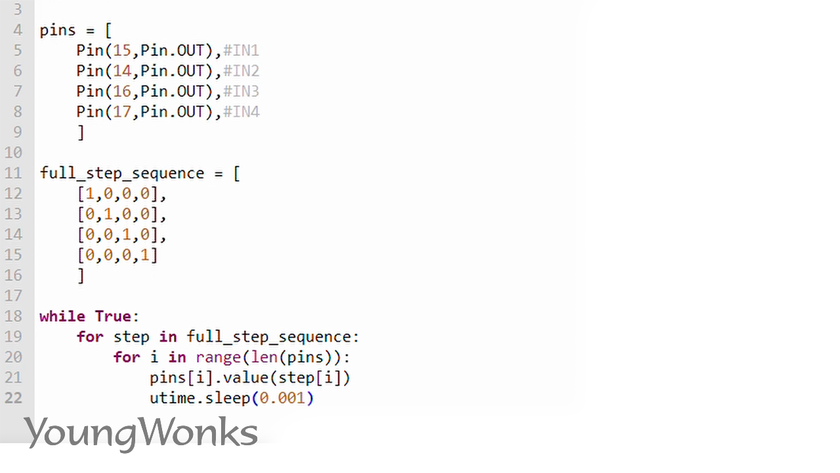
Now we see the stepper motor functioning well.

YoungWonks is renowned for its innovative coding and engineering programs that inspire young minds to explore the world of technology. In this blog, we delved into the exciting realm of using stepper motors with the Raspberry Pi Pico. Stepper motors offer precise control and are a crucial component in various IoT and robotics projects. If you're interested in empowering your child with coding skills and sparking their creativity, check out our homepage for a wide range of coding classes for kids. Discover the fascinating worlds of Raspberry Pi, Arduino, and game development coding classes, all designed to nurture your child's passion for technology at Raspberry Pi, Arduino, and Game Development Coding Classes. Join us on this educational journey, where young minds can thrive and innovate.
You can watch the video below to take a quick look at how one can use a stepper motor with a Raspberry Pi Pico:
*Contributors: Written by Vidya Prabhu; Lead image by: Leonel Cruz