Mar 04, 2021 By Team YoungWonks *
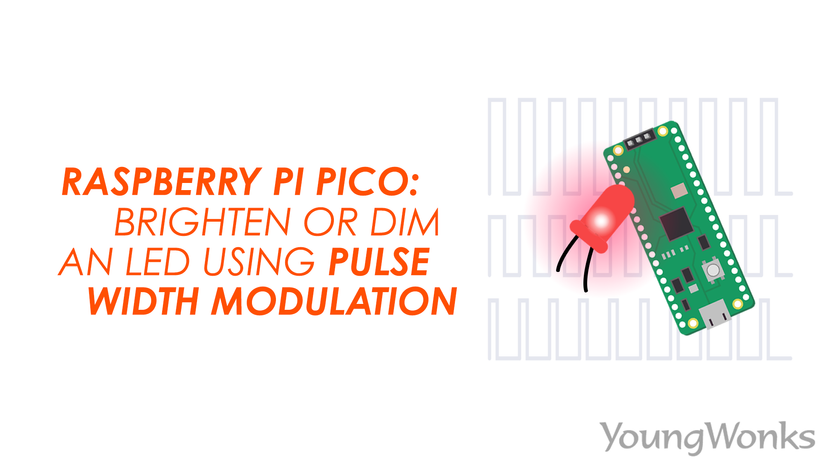
How can one brighten or dim an LED with the Raspberry Pi Pico using Pulse Width Modulation (PWM)? With the Raspberry Pi Pico now available in the market, this is a rather relevant query now. In this blog, we shall take a look at writing a program with the Raspberry Pi Pico and using PWM to increase and reduce the brightness of an LED.
What is Raspberry Pi Pico?
Raspberry Pi refers to a series of small single-board computers developed in the United Kingdom by the Raspberry Pi Foundation in association with Broadcom. The boards have been made keeping in mind the promotion of teaching basic computer science to kids. The latest offering by Raspberry Pi is the Raspberry Pi Pico, a new flexible IoT board. Essentially, it is a microcontroller board built on silicon and designed at the Raspberry Pi Foundation.
Priced at merely $4, Raspberry Pi Pico is smaller than the average Pi and indicates how the foundation is now looking to branch out into microcontrollers and custom silicon.
Raspberry Pi Pico pinout
In order to use it well, it is recommended to get well acquainted with the Raspberry Pi Pico pinout. The diagram below explains this.

Raspberry Pi Pico projects
As a microcontroller, the Raspberry Pi Pico can be used in many projects, be it Internet of Things (IoT), Adafruit Neopixel projects, data logging, small to medium scale robotics, projects needing interfacing with cameras, analog sensing (using environment sensors) and more.
Brightening and dimming an LED with a Raspberry Pi Pico using PWM
Now we are going to learn how to brighten or dim an LED using Pulse Width Modulation (PWM). PWM, also known as pulse-duration modulation (PDM), essentially is a method of reducing the average power delivered by an electrical signal, by effectively breaking it down into discrete parts.
To do this, we will need the following - a Raspberry Pi Pico on a breadboard, an LED, a resistor and a wire. 
Take a look at this diagram to help you build a circuit. 
Use this wire diagram to help you verify and complete the circuit. 
Now connect the LED to the breadboard. 
Next connect the negative end of the LED to ground through a resistor. 
And connect the positive end of the anode to a GPIO configured as an output. 
Moving on to the code, we begin by importing the dependencies. Type import utime for some delays. 
Also type import Pin and PWM from the machine module. 
Next we create a pin object.
Then apply a PWM on it. 
Set the PWM frequency to 1000. 
Then create variables for the duty cycle and the direction. 
Next create a large loop that repeats many times. 
In this loop, we shall alternate between increasing or decreasing the duty cycle. So we increase the duty cycle from zero to 255 after which we change the direction and decrease it to zero. 
We also use the squared value of the duty cycle to change the PWM so that we can see the brightness go up quickly and decrease slowly. 
After this we use a time delay to be able to see what is going on. 
You should now be able to see the LED’s brightness increase and decrease. 

You can now put this to use in many of your maker projects.
Watch the video below to take a quick look at how one can work with the newly launched Raspberry Pi Pico and use PWM to brighten and dim an LED:
Enhance Your Learning with YoungWonks
If you're intrigued by the possibilities of controlling LEDs with a Raspberry Pi Pico and want to deepen your understanding of electronics and programming, YoungWonks offers a wide array of resources to support your learning. Our Coding Classes for Kids are designed to nurture young minds, fostering a healthy curiosity towards technology and its myriad applications. For those specifically interested in mastering Python, our Python Coding Classes for Kids provide a solid foundation, equipping students with the skills to tackle various programming challenges. Additionally, for learners keen on exploring more about hardware programming, our Raspberry Pi, Arduino and Game Development Coding Classes offer a comprehensive curriculum that bridges theory with hands-on practice, allowing students to bring their imaginative ideas to life.
*Contributors: Written by Vidya Prabhu; Lead image by: Leonel Cruz